Category Archives: household

House Cleaning Game Plan

I can not be the only one.

I can not be the only person who planning on entertaining over the holiday season. And now that it is November I can’t delay any longer, I need to start preparing the house!

When it comes to parties (any time of year) or any holiday events I get a little extra neurotic. Which means a quick tidy is not going to cut it. Even a deep cleaning tends to not be enough, right?

Or am I the only person who rearranges stuff, decorates or may even dust light fixtures for this kind of thing? This year I want to move a couch, organize an office, and clean out the cabinets under the kitchen island. Come on, I can’t be alone… right?

The best way to win any battle (and yes, I view this as a battle;) is a great plan. It will take a little time and thought but I promise that it is worth it!

  1. I want you to walk through every room of your house. You are going to write down every single little job that needs to be done. And I mean everything!!! Baseboards, dust light fixture, blinds, dusting the chair legs, everything!
  2. Then you are going to write down the date (or dates) that it needs to be done by. For example, I will only need to relocate a couch once but I will need to wipe down the counters for every event.
  3. Then think about who in your household is going to be the person to do each job! A great rule of thumb is that the youngest person in the house who is able to do the job gets it. Now this is not between the parents but a rule for the kids. The idea is that if you give the kids all the jobs they can do it will free you up to do what only you can do!

I recommend making a separate list for each room. You can even post it in each room so you don’t have wonder where the lists are. If you are married to a fabulous person (like I am) he can then easily see what he needs to do in that room if he is there and has a minute!

I have created a generic list that you can print off and fill out. I also have started a kitchen list and a bathroom list for you but add all your specific needs too!

And most importantly… Make sure you put a check mark in the done column when you are done! There are very few things that make me happier than checking off lists!!!

A little time now + a little planning = a stress free, easy going holiday season!!!
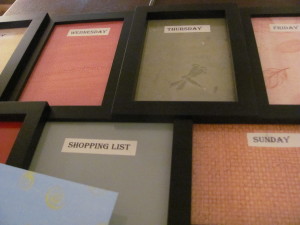
Collage Memo Center

If you are looking for a gift or are just setting up your communications center for the year this collage memo center is a win! Even though we all have planners my kids absolutely having this hanging on the wall. In addition to any appointments, you can put chores and your meal plan on this board along with who is cooking it! Having it all laid out on the wall means you are equipping your children be more successful and maybe not ask you what you are having for dinner.

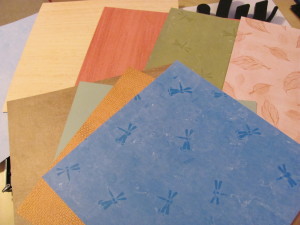
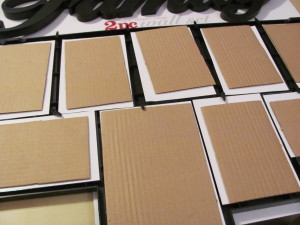
Ok, I have seen this in a variety of places and can’t remember the first one but… I love the idea of this custom made dry erase memo center!!! Why does this work? Glass is a perfect dry erase material!!! First, you get a cheap collage picture frame (mine was $6 from Walmart).  I also got out my paper cutter, tape runner and scrap book paper collection (which is way too big;).  This collage is 9 holes so I can do more than just the days of the week!

Then you actually need to pick out the papers that you are going to use in each frame. For me, this is the most time-consuming part. But look at the upside, Out of 1 set of papers you can make multiple boards so you just have to choose once;). I went with a fairly gender neutral set here.

Then cut your paper down to fit each frame. 8 of my frames were 4 x 6. So I cut my 12 x 12 in half then each half into thirds. Then label each frame so you know what goes there! I did the 7 days of the week, notes, and shopping list. You could use stamps, letter cutouts or just print the labels on paper. I just used this template for my Memo Board Labels then cut them out and used a tape runner to fix them to the paper!

Then take off the back and prepare to assemble. This is the time to clean your glass!!! Nothing is more annoying than to finish and realize that you have marks on the inside of the glass;). To assemble just put your paper into the frame like a picture. That is really it;).

You can also go the extra mile…. Put a piece of velcro on the side of the frame (where no one can really see) and the dry erase pen too!

Not only is this great to make for yourself but it is a fabulous gift! I mean, how much is a custom memo board worth?


3 Steps to Puzzle Storage Zen

WP_20150408_11_29_49_Pro

Puzzles sound so old school, I know. But puzzles are great for so many reasons. They develop logic and problem-solving skills. It helps kids (and adults) to sit and focus therefore develop that stick to it attitude that helps people succeed in life. And it de-stresses so many. But I hear complaints all the time about puzzles. But most of those complaints are about storage and trying to figure out where found pieces go. It doesn’t have to be that way!!!

We love a puzzle here in the NerdFamily. But not in the rainy day, sit for 3 hours, and just do puzzles kind of way. Instead, we grab those hidden moments that would other be lost. We put up a folding table and throw a puzzle on it. This is when we use those big puzzles that you just don’t have a lot of time for. We only do this when we can leave it up for a few days. Then we take those minutes that pop up through the day and head to the table. Maybe we are watching tv and working on it. That time when dinner is almost ready and you don’t have time to do anything, puzzle time;). Those minutes when half the family is ready to go somewhere and they are waiting on the other half? Puzzle time.  

I hear it now, “How do you not lose all those little pieces? How to you keep them all together?” That is easier than you think! And when you find that random puzzle piece you will know right where it goes! 

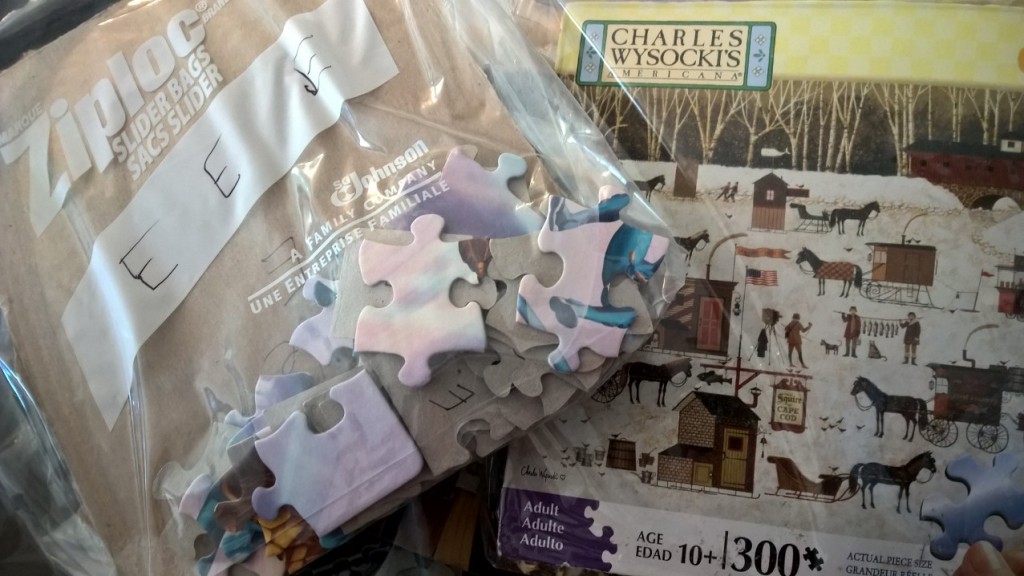
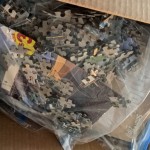
WP_20150408_11_28_11_Pro1)Get a marker or a stamp. Stamp or write a letter (or code of some sort) on the back of every piece. Yes, I know it sounds tedious. It really isn’t that time consuming. With smaller children use a color as part of your code. Then they don’t have to read!

2)Cut out the front picture from the box. Be honest, those boxes never last very long anyways. On the back of the picture write the code for that puzzle and how many pieces there are. WP_20150408_11_29_25_Pro

3)Put the whole mess into a ziplock bag! Throw the bags into a bin and put the bin on the shelf. If you have a lot of puzzles, like some of us, you might want to have different bins for different sized puzzles. That way if your 4-year-old goes to grab a puzzle they can just access their smaller ones;). 

That is it! 3 steps to storing your puzzles! Now go have some fun!!!


10daysbutton

   This is part of the 10 Days of Nerdy Fun!!! Make sure you hop over to see what other great posts of nerdy fun that will be shared! 


Dealing with the Playtime “I Don’t Know What to Do”s

girl-with-lego

(This is a sponsored post by Pley, the awesome toy set subscription service. Netflix for blocks (and maybe Polly Pockets soon too).)

“I don’t know what to play with.” Admit it, you have heard that from your kids. I think it drives every parent crazy, but especially here in the United States where we know that our kids have and do so much! An “I’m bored” in my house is often met with a response about how I always have baseboards that need cleaning. But being over whelmed with toys is not necessarily a problem that just comes from ungrateful children. They really can have so much available to them that they don’t know how to focus or how to clean up. How many times have you found your kid in a trashed room of toys with them walking around aimlessly? Come on, I can’t be the only one;).  But it doesn’t have to be that way.  How I have always gone about my kids and toys is like toy rotation. But less of hiding things away and more about being intentional. 

So lets take an infant. You put them in a play pen full of toys and walk away. They sit in the middle and fuss or cry, right? You wonder why they don’t just pick up a toy and start playing, right? Well, if you sit them in an empty play pen and hand them 1 or maybe 2 toys they are less likely to fuss. Seriously. I heard about this in a Babywise or Growing Kids God’s Way tape before I had any kids. I remember having this frustration with my siblings when they were little. So I had kids… I experimented on them. Yes really, I am that person. But I wanted to know if it was a fluke or actually a thing. And it seemed to be a thing. 

This method is also considered really good for development. I mean if you think about it, you are giving them 1 thing to focus on. That means they really figure out everything they can do with it. If they can do something else with it. And it teaches them how to focus and work something out to its end. I know, it sounds way to deep for an infant. So lets jump ahead to that 3-10 age. 

As part of our day, since the kids were mobile, we have always had some “go away from me and play” time every day that we are home. So you send a kid off to play, or a group of kids as it is in my house, and they can’t settle on what to do. They flit from thing to thing or can’t agree on anything! So I would always say, “Go play in the kids’ room. You can play with this or this. Which one do you guys want to do?” They tell me their choice and go play. No fighting and no whining. And of course at these ages I am not going to hand them one single rattle but a theme. They pick a set like the kitchen set, Lincoln Logs, Legos, or dolls. Often we would also get 2 who play with one thing and 2 who would play with the other. 

Sometimes they will stick with these things for an hour or a week so they really get a chance to delve in to a project. Here is the other secret power of this. You can always make 1 of the suggestions something they don’t play with often. It can help them rediscover a hidden gem. It also can be a way to discover when something can move on to a home that wants it more. 

Now that my kids range from 8-14, they do this to themselves. If they are heading off to play they will say, “I am going in the game room to play…” Not so much to ask permission but to let me know that they are getting into an activity and to let their siblings know in case they want to join. 

That is it, really. That is my secret to kids playing and learning to focus. When you hear it, it sounds so simple. Yet, if you have never seen it modeled you may never have tried it. Try it out with your kids! Let me know how it works for you. 

Oh, 1 extra benefit to mental development, not being bored, and not fighting? They at most have 1 set of things out (per kid) to clean up. So it makes the end of the day so much easier!!!

And if you are a Pley subscriber, you have 1 special set of toys that they can play with at a time! Once they fully explore that set, you just send it in and get another one!!!

pley-card-logo-v3(Disclosure: This piece was sponsored by Pley but all thoughts and opinions are mine alone!) 


My Kids’ Favorite Toy Organization Tool

WP_20160127_13_49_14_Pro
(This is a sponsored post by Pley, the awesome toy set subscription service. Netflix for blocks (and maybe Polly Pockets soon too).)

I know, it sounds weird to be talking about the kids’ favorite organization tools but I am a practical girl. I can do all the organizing, labeling, and containering I want but if the kids won’t use it, it is a waste. So I wanted to find out their favorite so I could deploy it as much as possible! I mean, don’t you want your kids tending and organizing all their own toys (if we dare to dream)? I see all these great systems on Pinterest that are supposed to be easy to use. But if I am the only one actually using them, I consider it a fail no matter how cheap or how pretty it looks. 

So I sat down with my kids and polled them about what was there favorite and why.

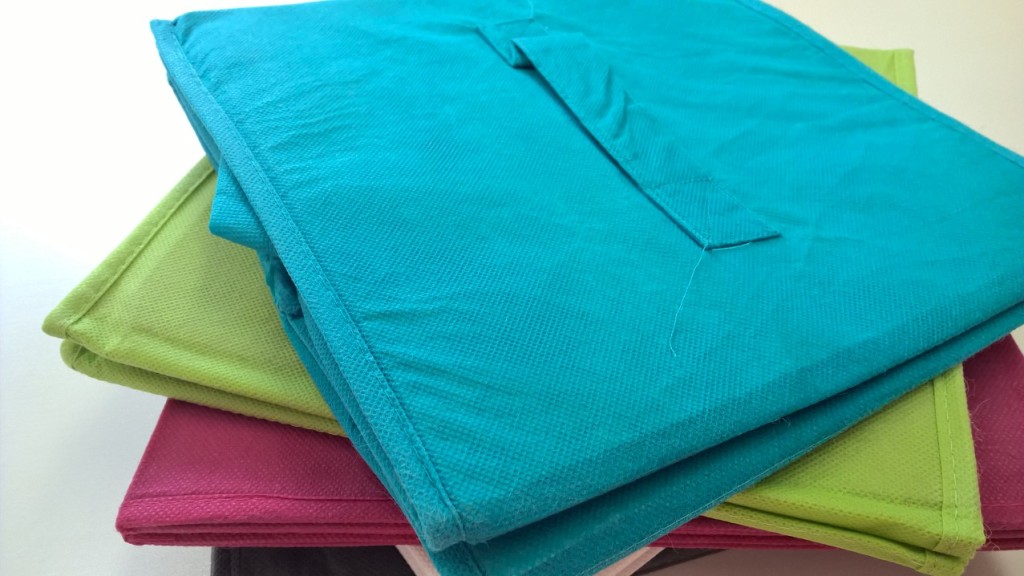
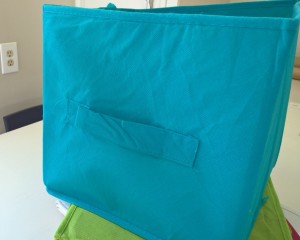
WP_20160127_13_50_25_ProThe hands down winner was the collapsible drawer/bin. And they had a variety of reasons!

1) It is 1 bin to take out and put away. So much easier than carrying out a bunch of little bits.
2) They can hold quite a bit. Like a whole set up of Legos for a project. If you are using smaller containers to organize things (like a pencil box for mini figures and bags of singles), they will hold all those little containers too!
3) They come in different colors so you can use a specific color for specific things.
4) They fold up so you can always have 1 or 2 empty, out of the way, and ready to go for any on the fly project.
5) They look nicer than laying out a bunch of bits on the shelf. So they don’t have to dust all the bits and I will let them sit on the shelf instead of finding a spot in the closet.
6) You don’t have to take everything apart in order to put things away and clean up!

I love them for all those reasons and the fact that they are so affordable! I have some from the Dollar Spot at Target and some from Michaels.

There are also very great for Pley subscribers! Keep an empty drawer or 2 set aside for those kits! Then when they come in you can just set all the pieces in 1 drawer and they will be contained! Playable yet very easy to keep track of! Then whe you are ready to send back your set to get another, you know where all the bits are! 

Do you use the collapsible fabric drawers? What do your kids like to use to organize all their toys? Especially those toys with lots of pieces? Let me know in the comments!


(Disclosure: This piece was sponsored by Pley but all thoughts and opinions are mine alone!) 


Pencil Boxes for Organizing Life Outside of School

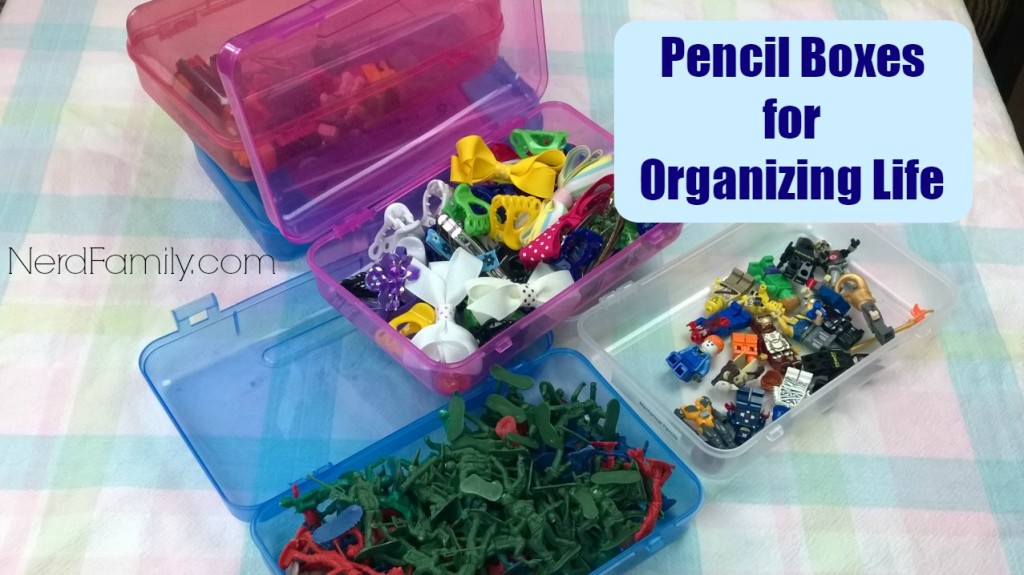
 Pencil Boxes for Organizing Life

I love office and school supplies! I am woman enough to admit. And so the fabulous sales in the fall always make my eyes gleam. The penny, dime, quarter and fifty cents deals seem too good to pass up.

One of the things that seem most fascinating is the plastic pencil boxes. Not the little slider boxes but proper plastic pencil boxes with hinges and closing hinges. I usually can pick them up on sale during back to school season for 25 or 50 cents apiece at Walgreens.

I live in a world of little people, little things and way to much crud so I knew there had to be some way to utilize these boxes! And I found some! Remember these can be used in so many ways other than holding crayons, pencils or other school supplies!

Here are just 5 ideas to get you going!

  1.  Army Men: My kids have those little army men everywhere. They populate their cities, conduct major battles, and generally get thrown around. Did you know they even make them in fire and police varieties now? And did you know those little stinkers are pointy and sharp? My feet know! You can store quite a few in 1 pencil box and then they don’t have to either leave them out or pull everything out of a big bin to find them!
  2. USB Drives/Press Kits: You know those little USB/Flash drives? Those little storage devices are awesome to have around for those quick file transfers, movies or whatever. But if you don’t actually have it plugged into your computer it can be hard to keep track of them. And can I let you into a little blogger secret? We get press kits from lots of companies on USB drives. So once we pull all the information off for pieces and videos, we have perfectly serviceable USB Drives. They all fit wonderfully in these pencil boxes until someone happens to need a USB Drive (even the palm tree ones;).
  3. Hair Clips: I have decided, women’s and girls’ hair clips have full reproductive abilities. Because it seems no matter how many you throw out because they break or chip they just keep coming! My daughters basically filled a bathroom drawer with hair elastics and clips. Well, that was until I brought the pencil boxes in! Now they have 2 boxes. 1 for clips and 1 for hair ties and there is even room for other things now! Imagine.
  4. Lego People: Legos are awesome. All Legos. But there is a special fascination with the Lego figures. Such a fascination that even the generic, non character ones sell for a pretty  penny. So while we have numerous bins of Lego bricks we only have 20-30 Lego people. And of course they want to play with them all the time. Even if they aren’t playing with the Lego bricks. I can tell you from experience that nothing is more annoying than kids pulling out numerous Lego bins because they can’t find Loki’s staff or Batman. So you can keep all your Lego People and their accessories in 1 pencil box. It will save your kids oodles of time, save you oodles of nagging, and save your oodles of limping.
  5. Game Piece Storage: You are just finishing a rousing (ready fairly stressful) game of Sorry. The more stressful the game was the more likely that today is the day. The day that the box falls apart. So now you are annoyed and just want to be done. But now you are trying to shove everything in the box and trying to get the lid to stick to it… This isn’t going to work. Instead just pop all the pieces into a pencil box. Then you will just need the box and the board to be have everything you need. And more importantly, when you are done you have a dependable method of storage that you don’t have to fight with! 

 Remember just because you buy something that has a use already assigned to it doesn’t mean you can’t use it for something else! Look for unexpected uses for everyday items (or back to school bargains) and your life will be just a little more organized. And you might even have a little more money left;).

So what could you store in your pencil boxes?


Vitex Gel Memory Foam Pillow Giveaway

WP_20140715_07_55_00_Pro

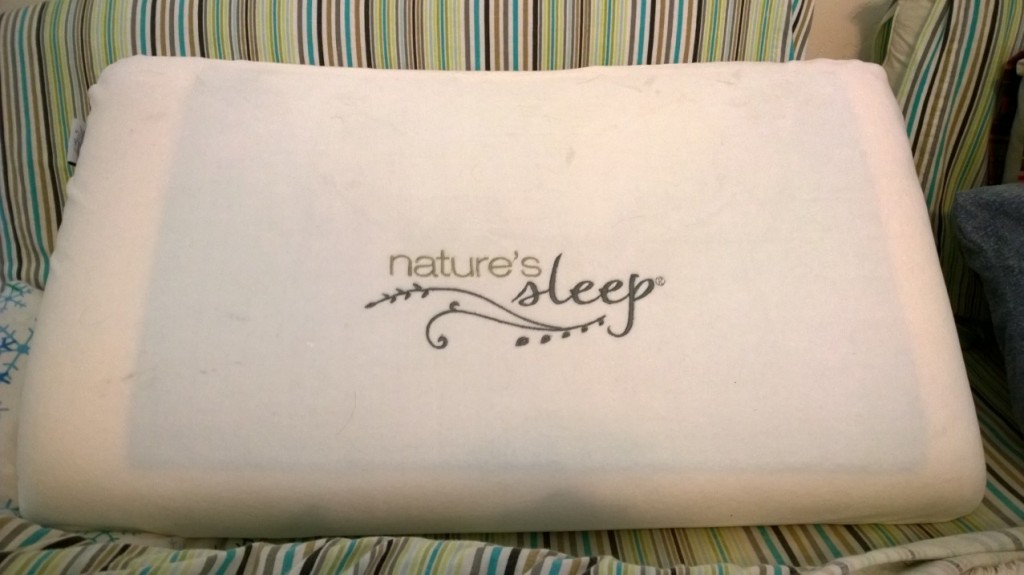
I have been eye balling those fancy memory foam pillows ever since I got my memory foam mattress. So you can just imagine how excited I was when I received a Vitex Gel Memory Foam pillow to review from Nature’s Sleep.

Pillows are a weird element to sleep. We know that they a huge effect on the quality and restfulness of our sleep. But yet, at least for me, it seems we don’t know what kind of pillow really work for us. Neither do we seem really willing to invest in pillows and that comes back to our lack of faith or knowledge of what a great pillow might be for us. That is where I found myself.

I have always had a variety of $5 pillows. That is what I grew up with and what I was willing to pay for. And every one of my $5 pillows was always different and I was never happy. Then I started traveling more and to nicer hotels. That lead to trying some nicer pillows including some memory foam ones. But when I saw how much they were, well leave it to say that I had sticker shock.

Jump forward to me falling in love with my memory foam bed. I starting looking more seriously at getting memory foam pillows. One of my big concerns (other than the price) was the heat. Then I got my hands on the Vitex Gel Memory Foam Pillow.

To start with, this pillow is huge! Measuring at 22 inches long, I can share with the husband if we are both looking at a tablet together. So it is safe to say that 1 pillow is plenty! It is pleasantly firm. What do I mean by that? Your head just sinks in and then is held perfectly. But the kicker? The cooling gel insert!

As much as I like memory foam, it is a bit hot and with a pillow that means sweaty hair that sticks up. And that is if I can sleep through the night (I don’t sleep well hot). But the gel insert keeps you cool without freezing you out. And that is what sells this pillow! And we put it through its paces when it came to heat because we have used it through the hottest part of summer (we hit over 105 in Fresno).

In full disclosure I had a hard time sleeping on my side because I am short enough that I just can’t get comfortable that way. But on my back it is heaven. And my husband likes it even better than me. It is now his pillow, unless I steal it when he isn’t looking;).

So how would you like to win one?

a Rafflecopter giveaway

(Disclosure: I was given a Vitex Gel Memory Foam Pillow to compensate for this post. But all thoughts and opinions are mine.)


6 Items to Deal with Allergies at Home

filtrete allergies

I really do love living in Fresno! I also love the fact that we feed the world. But there is a down side to that. Things are always blooming and I am often sneezing! I have given a lot of thought and planning as how to deal with my allergies without relying on medicine alone. I already take a daily allergy pill so when my allergies are made worse by pollen, well leave it to say that taking another Claritin is just not going to do it.

There are three household tools you must have on hand to deal with your environment.

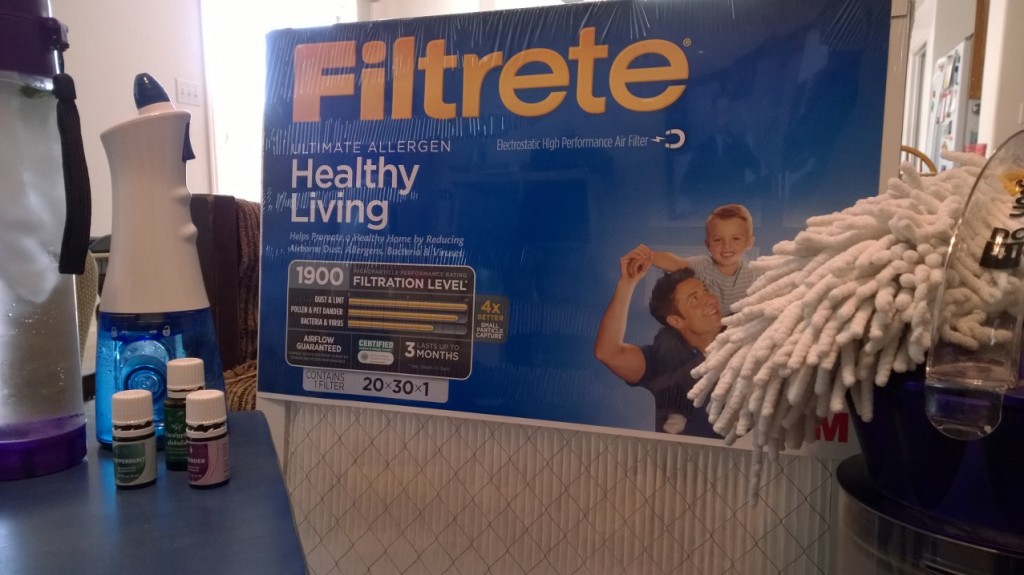
1. Filtrete air filters: Changing your air filters every 3 months is the first step towards battling your allergies at home! I don’t believe in cheap air filters and have use Filtrete’s filters for years. So I was stoked when they sent me a box! And while they did compensate me for this piece (with a box of filters), this opinion is totally mine!

Yes, you can get a cheaper filter but you really do get what you pay for in this arena. Cheap filters let a lot of dust and pollen through. And I love that they only have to be changed every 3 months. The less I have to be up in that dust laden area the better.

2. Vacuum Cleaner: A good vacuum cleaner is a necessity! We have a refurbished Dyson Animal Vacuum that does a phenomenal job. You need to make sure that it sucks up the dust and that you dump the can frequently.

Of course you need to vacuum your carpets to help with the dust but it goes beyond that. You can take your wand and go over both your couch and blinds to really clean out the air! You also should vacuum your vent cover before you change your air filter. It stops you from getting a face full of dust.

3. Corkscrew Microfiber Dusting Mitt: A great dusting mitt is key! The micro fiber grabs on to the dust so you aren’t just pushing it around. Since it is a mitt you can turn it inside out when you take it off to keep all the dust in until you are ready to shake it out or wash it.

Then there are three things you must have on hand to use on you in order to deal with your allergies at home.

4. Essential Oils: Ever since I began using essential oils topically my use of Sudafed has dramatically dropped. Rubbing a little eucalyptus and peppermint on my sinuses or placing some in a diffuser can help control watering eyes, sniffing and even sneezing. It also helps to stop my sinuses from getting all stuffed up! I even travel with them.

5. Neti Pot: Irrigating your sinuses may sound weird and uncomfortable but nothing beats it. I understand if it puts you off, it took years before I would do it. But I swear by it now! It keeps everything moving and really helps avoid sinus infections. It also just relieves stuffy sinuses and helps me sleep when things are bad.

6. Water: Yes, I said water. I know it sounds simple but it is essential. Water will thin any mucous but also will help you avoid headaches that allergies can bring on. It sounds silly but it is the most essential thing you need! Throw some peppermint leaves in it to give you a little zip and energy too;).

And there you have it. Six things to have on hand at home in order to combat your allergies!

(Disclosure: Filtrete did compensate me for this post. All thoughts and opinions are mine. Make sure to connect with them over on their Facebook page and Twitter. #HealthierHome )


Downy Wrinkle Releaser Plus Saving Clothes on the Go!

WP_20140816_17_27_01_Pro (1)

I admit it, I was raised an ironer… When my husband and I got married I was mortified that he didn’t own an iron or an ironing board. An issue we quickly rectified. Then I continued to iron his wrinkle free pants and shirts because they weren’t wrinkle free enough. And I continued ironing mine and Jeremy’s clothes. Then I had my 4th kid.

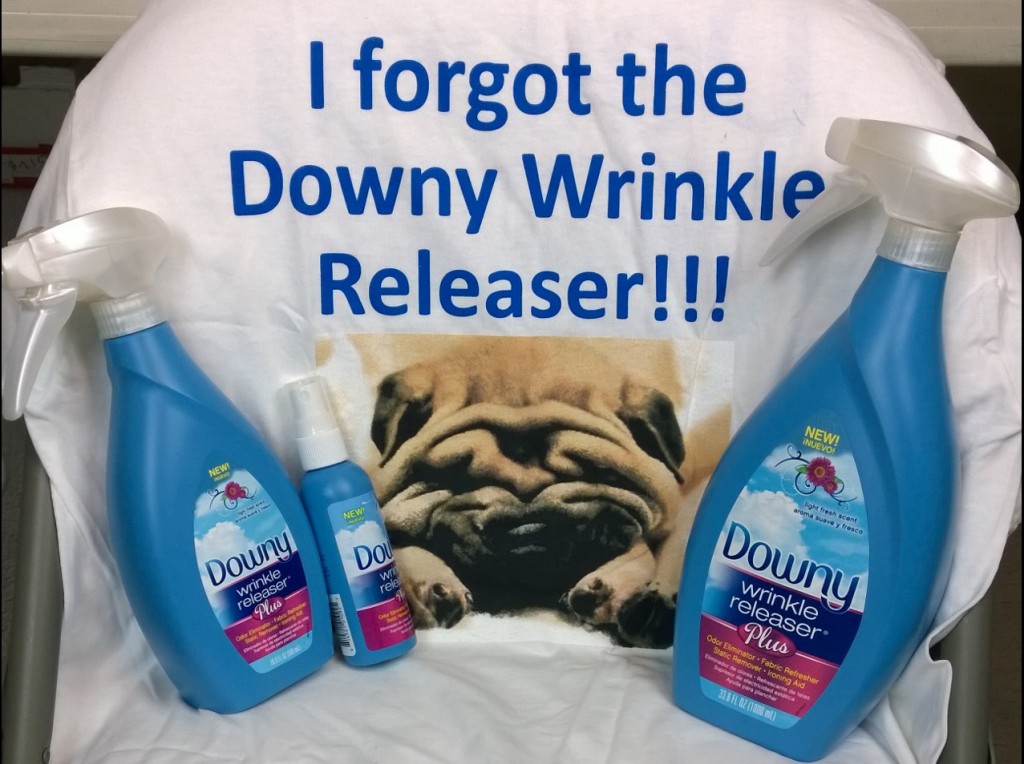
No, I really didn’t stop ironing until the 4th kid was born. Since then, the iron only comes out for special occasions or more accurately special materials. I didn’t really try much with whole world of Wrinkle Releaser, I would just toss something in the dryer and shake unless it is a fancy material I can’t iron. Then I go straight to the Downey Wrinkle Releaser Plus. With the new Plus version the mist is so fine that I haven’t had any problem knocking out the creases in dry clean only materials. But other than that it was dry and shake. Except when I travel.

WP_20140818_13_48_50_ProTraveling is inherently hard on your clothes. Things that can normally just be tossed in a dryer or shaken out in order to rid yourself of wrinkles… well that doesn’t work when you travel. Even when you roll shirts you can avoid some of the wrinkles but those that are there create creases. To deal with those I have been known to drag out the hotel iron.

But no more… Last year I was at a conference and I had a new favorite shirt. I was smart and turned the shirt inside out to iron it. And I turned the iron to medium low and then started to iron. Immediately the lining burned right off… I was in tears and calling the husband. Luckily, you can’t really tell from the outside for the most part.

Flash forward…. Same shirt with similar wrinkles. I gave it a spritz with Wrinkle Releaser Plus! And by the time I put my makeup on the shirt was ready. I am never risking a piece of clothing I love to an unpredictable hotel iron!!! I am forever going to bring my travel Downey Wrinkle Releaser Plus!!!

(Disclosure: This is a compensated piece. The subject has been paid for but the words and thoughts are mine!)