This post is going to tell you all about the Villages that are formed in Minecraft. The most found structure is the village and that is mainly what I will be focusing on that but there are much more. A Village is the best way to get both carrots and potatoes and there is also wheat, all of which are planted. Villagers are what are found living in a village. You can trade with them by clicking on them and giving them what they want. Also they are the ones who tend to the crops there. There are also torches on blocks of wool that you can get if you need torches or a bed. Be careful at night a village is a place that attracts zombies at night and the can turn villagers into zombies too. There are also houses that you can live in if you want made out of wood, logs cobblestone and glass windows. There are a couple of specialized buildings found in the village.
Church. These are 3 stories and have ladder to connect them. This is mostly made out of cobblestone with a few torches. This is best used for house, materials, or a lookout post.
Blacksmith. These are often the most helpful buildings. They have lava and iron bars. And there is a room in the back that has a chest with special stuff. This is made out of more of the stuff as the house
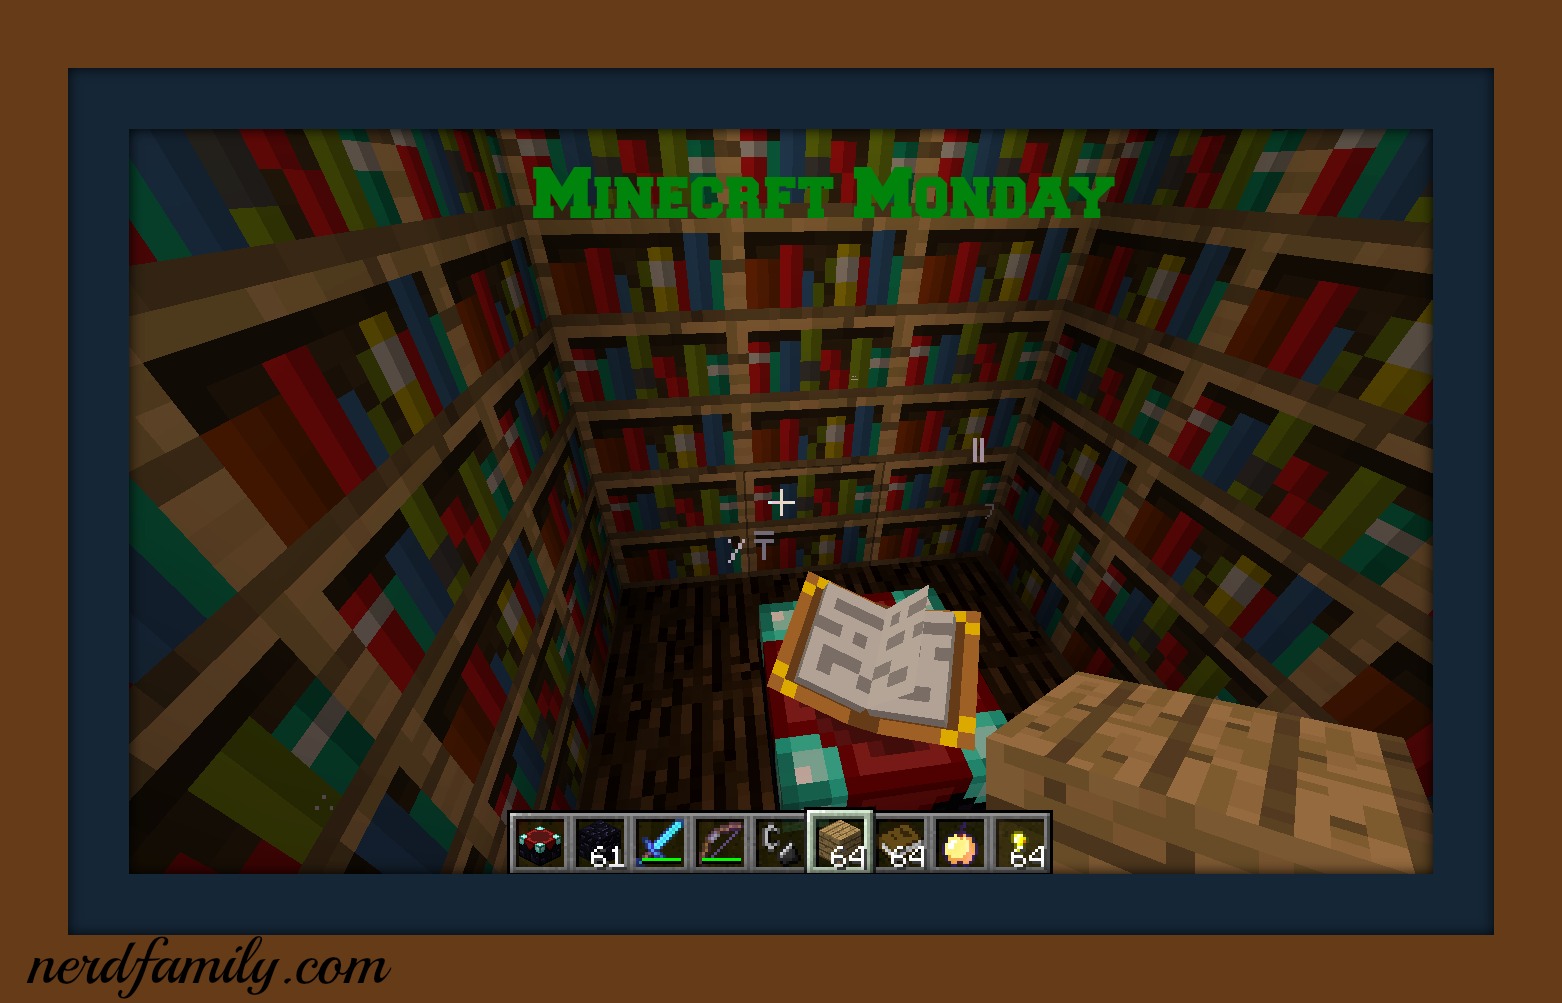
Library. The only thing notable about this is that there are books in it.
The village is not the only structure. There are dungeons and mineshafts that I will tell you about later, or you can tell me what else there is to the structures of Minecraft.
Food is very important. If you don’t have it you will eventually die (unless you are on peaceful a game mode setting where no monsters spawn and you don’t get hungry). Hungry itself won’t kill you but if you don’t have full food you won’t regain full health and you will be hurt until you have half hearts. The way your food levels are shown is that little bar that looks like pork chops. To be healed only like 2 of them can be gone. There are 2 major types of food But I am only going to talk about grown food:
Grown:These are all found in the ground like:
Wheat: I know that I have talked about this before but it is very important. It is planted any place that is hoed and is less then 4 blocks (diagonally) from a water source, I make a 9 by 9 square and take out the middle block and fill it with water. Wheat has to be planted on dirt only.
Carrot: These are planted and grown in the same way as wheat but are able to be eaten raw. These are only found in villages and some times when we kill a zombie.
Potatoes: These are almost the same as carrots but the are not as good for eating raw giving only half a food piece so you should bake them instead.
Pumpkins: These are grown in a spot next to water on dirt and will make a vine that will make a pumpkin on the block next to it.The only way to eat these is by making a pie with just a sugar a pumpkin and an egg.
Melons: these are grown the same way but you can eat slices of this by putting a melon in a crafting table. You can also make potions with melons.
this is just a few of the great foods that you can eat. tell me your fave.
This weeks is all about Potions. These are very hard to get ether by killing a witch (see part 1) or by making your own. I just started working with potions with the rest of the Nerdlings on a server we have. Potions are later in the game than enchanting needing obsidian to make a portal. Thats right we are talking about the nether. To Brew potions you need to have a brewing stand made with a blaze rod. A Blaze is a monster on minecraft that only spawns in the nether fortress. A Nether fortress is a huge structure made of nether brick that spawns wither skeletons and Blazes. To learn more about Blazes check out my Nether post. To make a brewing stand you need a Blaze rod that sometimes is dropped by a Blaze. To make a brewing stand put cobblestone across the bottom of the crafting table then a blaze rod in the middle middle. To brew potions you need to get nether wart to make a awkward potion which is like a base potion that you need to use when brewing. Next you need to figure out a potion to make. I am not going to tell you all the types of potions but if you want to learn all of them go to the minecraft wiki brewing page http://minecraft.gamepedia.com/Brewing . There are a couple of ingredients that will boost the potions effect
Redstone: This boost the amount of time that a potion runs like if you had a speed potion for 2 mins then brew a redstone in to it then it would be 4 mins.
Glowstone: This strengthens the effectof the potion, if you have a speed potion that boosts it 20% then you brew a glowstone dust then it would be 40%
Fermented Spider Eye: This reverses the potions effect so if you had a speed potion it would turn into a slowness potion. This is made with a spider eye and a sugar in the crafting table.
I hope you have a good understanding of the world of Potions and Brewing. Nerdpie
This is the start of a new series about magic items in Minecraft. Minecraft has a long history of magic it has: Witches and potions and cauldrons, also enchantments. Today I am going to talk about enchantments and the mysterious witch.
The Witch is one of the newest monsters and makes houses in swamps. I like the houses for first homes but they’re really small for long term living. You will find in a Witch’s house a pot with a mushroom a crafting table and a cauldron(part 2) it is raised up like on stilts. I like using it like as a first home but it doesn’t have a lot of room so I always move out fast or build a base around it.
Now I am going to talk about enchantments. First you need to have an enchantment table made with diamond in the bottom corners then obsidian in the bottom middle and and the middle row then a book in the top middle. The enchantment table is pretty far from the start using diamonds and obsidian and the cows and sugar cane. Then to enchant any thing you need to have lapis lazuli to make it work. Do you know those little green bars that get little boosts when you kill things? That’s experience used to enchant things like tools and armor. The more you have the better things you can get. But your enchantment table can only enchant a little when you first place it. To get better stuff you need to have book shelf’s to unlock it’s full potential. The most helpful way to arrange it is in the picture above but you don’t need to do the bottom level that’s just to look cool. All tools and armor can be enchanted but I suggest don’t enchant any tools that is less than an iron but always enchant anything diamond. A book shelf is made by putting any type of planks across the top and bottom of the crafting table and books across the middle and then it looks like a book shelf. They are flammable so no fire places in the library.
And that is all you need to know to start enchanting. This is not every thing you should go out there and explore and tell me all of the cool things you find out. Happy minecrafting!
This going with the theme of tools! It is armor. Most items that are used in in tools are used in armor because of that I am going to assume you have read my previous post on tools if not here it is. I am going to show you the differences in the armor items and the tool items. Armor can be made with most ores the major exception that proves the rule is cobblestone that can’t be used to make armor. Also how to make the different pieces of armor which is first.
Helmet: This is made with a row of your material across the top and in the middle left and right squares. Leaving the middle center and bottom row empty.
ChestPlate: your material everywhere on the crafting table but the top middle.
Leggings: This has a silly name because it is really pants. It is made the same way as a helmet plus in the bottom left and right.
Boots: This has the least materials with only 4 middle left and right and bottom left and right
When I say the word material you fill it in with the metal of your choice. You can only use metal that are better than cobblestone so iron and up. Also there is a special type of armor called chain mail that you can’t make but you can find it in dungeons, villages, and mineshafts. To make armor you need 24 items of your choice. When making your first iron armor I suggest you should get a 64 (The most you can stack in Minecraft) of iron because it uses a lot of your first iron to make armor. I don’t make gold armor much but it can be done for enchanting. If you are doing anything dangerous or important I suggest using Diamond armor. It is the strongest, most protective, and the longest lasting. A sign of people who are experienced is lots of Diamonds in every thing just like some one who is rich has lots of gold. You put on armor is pt your armor in your back pack the open it if you look next to the picture of your guy there is row of spots that look like pieces of armor. Put the armor there and you will be wearing it.
Today I am talking all about tools! To do pretty much anything on Minecraft that is fun you need tools. There are a couple of different materials you can use to make your tools stronger. A lot of these are in Its So Shiny and Minecraft-y.
I am going to list the materials from weakest to strongest with some tips about them in the tool business:
Wood: This is what you should start with because it doesn’t take any tool to get but don’t use these for long they are very weak and super slow.
Cobblestone: This is your normal one because this is pretty strong and easy to get. To get cobblestone you need a pickaxe (look below) and you just dig it out.
Iron: This is for quick work and you can dig out more precious metals with these. If you want quick fast work this is what you want
Gold: This isn’t very good for tools because Gold breaks very easily but it is very good for enchanting
Diamond: This is the most epic metal and perfect for high danger areas. This is for special stuff not for just grabbing some wood.
Here are all the different basic tools
Pickaxe: This is pretty much the most important tool in Minecraft. This is used to dig out cobblestone and everything other than dirt in the ground.
Shovel: This is used to dig out dirt, gravel, clay and sand.
Sword: This is the main fighting tool in Minecraft but you can’t use it for anything else.
Axe: This is used for chopping wood and breaking down anything that has wood in it. I used to not use this but it makes everything so much quicker
Hoe: This is very necessary but you only probably need one. Before you plant anything you need to hoe the ground with, you guessed it, a hoe. Often I make this out of iron because then you don’t need make a new one very often.
These are all you need to know about the basic Tools Of The Minecraft Trade but there is still more tools to discover. Be sure to comment and tell me your favorite tools.
This time I am doing every thing else with decor that didn’t go with the other posts. First I am going to give you a couple really cool items that are essential to a great home in my opinion. A quick tip: you can stain glass and glass panes and make them that much nicer.
Flower Pot: These are so cool because you can make a room look so different by changing the flowers in this flower pot. It is made like a bucket but with bricks. Bricks are made by taking a clay piece and putting it in the furnace to make it a brick(neat tip you can make a brick block by making a square with 4 pieces on the crafting interface) and you make it brick on the bottom middle and middle left and right. To put a flower in it right click like you are placing a block
Item Frame: This is like a picture but you decide what is shown. to make it make a picture but put a piece of leather instead of the wool. The item frame is cool because
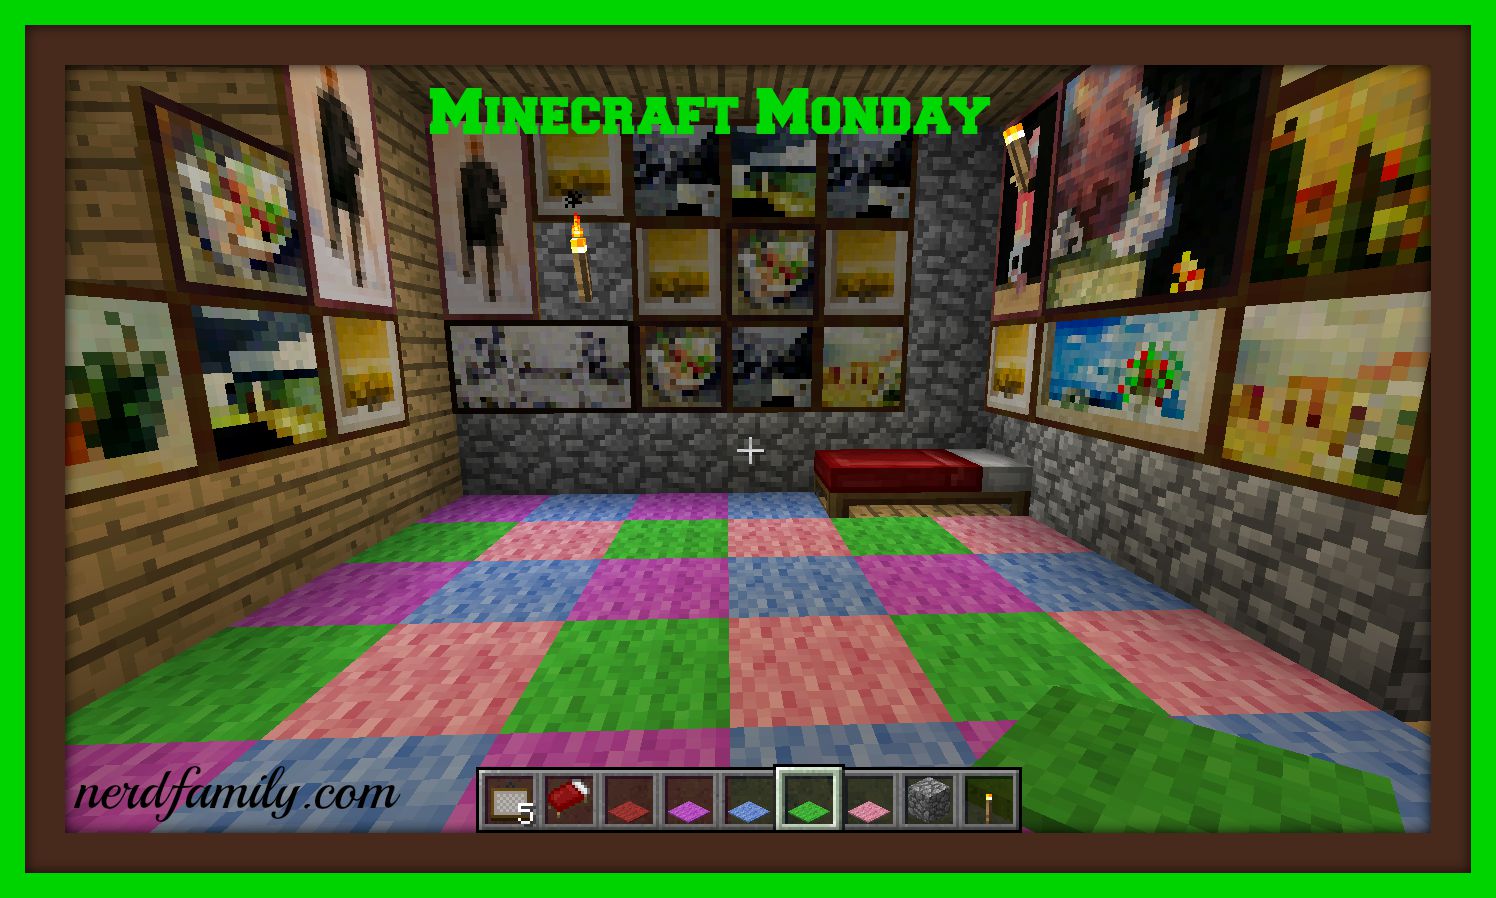
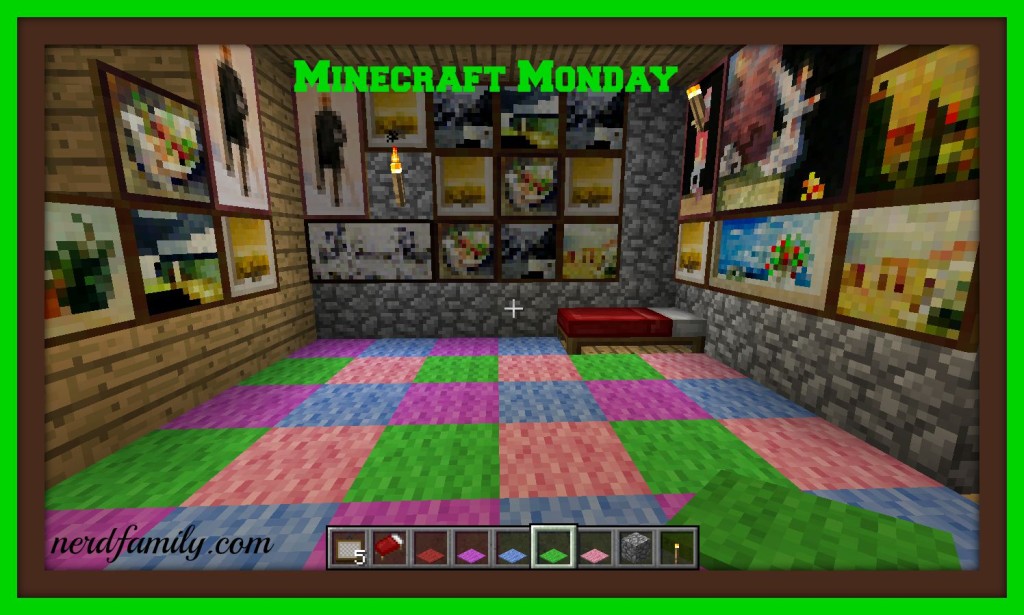
This is my second post on decor and this one’s a doozy because I am talking about dyes! These are so cool because you can make rooms look totally different with carpet and wool. You can take a regular carpeted room and make it green or pink on your preference. I am going to talk about the applications for generic dyes then I am going to outline the different recipes.
You can dye wool 2 ways. You can dye the sheep itself then any wool you shear off it will be that color if you breed 2 colored sheep the baby will be one of the parent’s colors or a mix of the 2. Neat trick take a name tag (found in dungeons) and put the name jed_ with a anvil and name a sheep it you will get a cool surprise. Or you can dye one piece at a time by putting a wool block on the crafting table with the dye (unless you only need one dye a sheep). You can also dye harden clay the same way. These are all the different colors and the different ingredients to make them. these are only some ways and some dyes.These are not all of them experiment to find the others.
Rose Red:
poppy
rose bush
red tulip
Orange:
orange tulip
Yellow:
Dandelion
Sunflower
Cactus Green:
cactus(heat it in the furnace)
Blue:
lapis lazuli
Light Blue:
Blue orchid
Magenta:
Lilac
Alium
Pink:
rose bush
pink tulip
White:
Bone meal
Black:
Squid ink
And these are all the dyes you need to make cool designs. You can also dye leather armour to make lots of colors. And you can dye hardened clay (take clay which you find in rivers and make a block and cook the block in the furnace) to make stained clay. You can use stained clay or hardened clay like cobblestone in building though the colors will be really dark in the stained clay. If you want to know ore about dyes go to the Minecraft wiki. I love the Minecraft wiki because it is my best resource on anything Minecraft I don’t know.
So I am making a mini series about decor and this week I am starting on wool because there is so much to say about wool. Pretty much every thing you can make for decor is using wool because you can dye wool but beware it is pretty but it burns very easy so don’t have flames near it. Here are the major crafting items you will need later on with decor:
Beds: I know I have talked about this before but it is so helpful because it sets your spawn point. When you first start on a world you will be set down in a random place that becomes your spawn point. But if you make your house some where else then die at night you are in trouble because you are not in your house and you don’t have any weapons and the monsters are hunting! Scary! Once I die over 10 times before getting back to my house. But never fear the bed is here, when you sleep in a bed your spawn point becomes that bed. You can only go to sleep at night when no monsters are too close and you can get up any time, but you will be kicked out of bed in the morning. To make it put three planks across the bottom of the crafting table then three wool in the middle row. Later I will talk about dyes but for this it will not matter the color of the wool.
Pictures: These are really pretty in Minecraft but when you make a picture and you place it the computer randomly picks from a bunch of pictures that are different sizes so it can be hard to get the picture you wanted. To make them put wool in the center of the crafting table and sticks in all the other spots. Here, like in beds, the color of the wool does not matter.
Carpet: I love these! You can use them in floors to make your home have lots of colors. To make them you put in the crafting table two wool in the bottom middle and left. In these the color wool you have matters because the carpet will be the color of the wool.
I hope you liked this weeks tips and later I will show you some cool things to do with them. Be sure to let me know if there was anything I missed.
Redstone, machines, and Minecraft come to life. What is better than that? First, I am going to talk about simple machines that you can use to make cooler and bigger machines and the tools to do them with. This tip not important with smaller machines but very important when you are doing cool bigger things. The power made by a redstone torch, button, or switch, only carries through 16 segments of redstone wire so to make a ceiling that is lit all the time you will need some new tools. These new tools can be used for a variety of machines like automatic cannon, fireworks launching, and a TNT trap.
Redstone repeater: This is very helpful because you can put it in the wire but it doesn’t power the wire unless there is power on one side of it. To make it put cobblestone across the bottom of the crafting table a redstone piece in the middle and redstone torches in the left and right middle.
Redstone torch: This is helpful for the opposite reason, if you put this up next to the wire it will send out power but if one side has power it will stop the power going through. It has to be the only source of power or it won’t turn on and it won’t let more power go to the other side. You make it the same way as a plain torch with redstone instead of coal. This also can be used for light but not very well. It only glows at half the light.
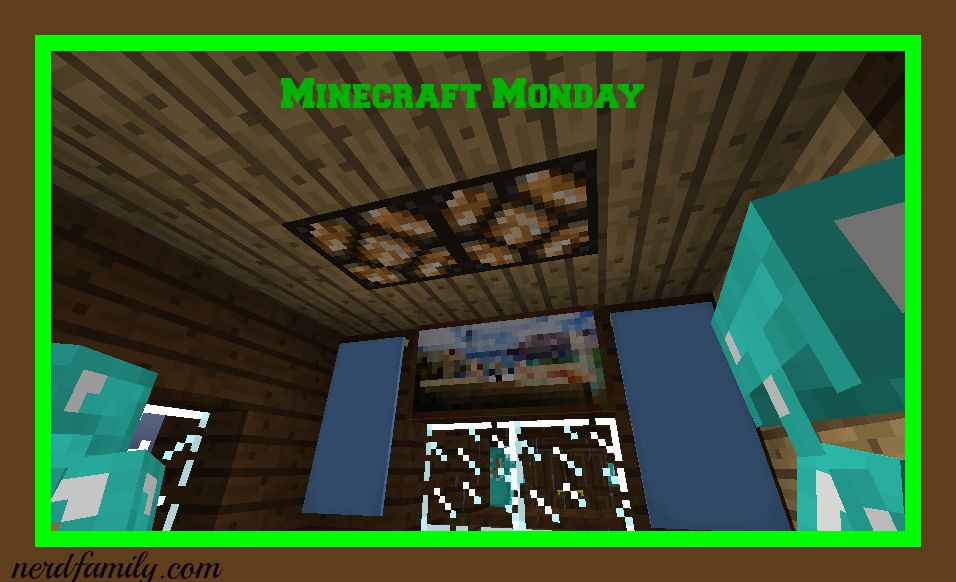
Indoor Lighting.
This is a good simple project that shows you lots of cool items for this and all other projects I suggest you should make this in creative so that you know what you need. First, you need redstone lamps which is made by having redstone in the corners and glowstone dust in the rest of the spots on the crafting table. Make a hole in the roof and put the redstone lamps to fill the hole but all the lamps must be touching on the sides (not corners as the only connection) of the lamps. Now put redstone on top of the redstone lamp. You put a switch next to redstone that connects to the redstone lamp. You can put it where ever you want as long as it is touching with wire the redstone on the lamps. Make sure to add redstone repeaters if you need them.